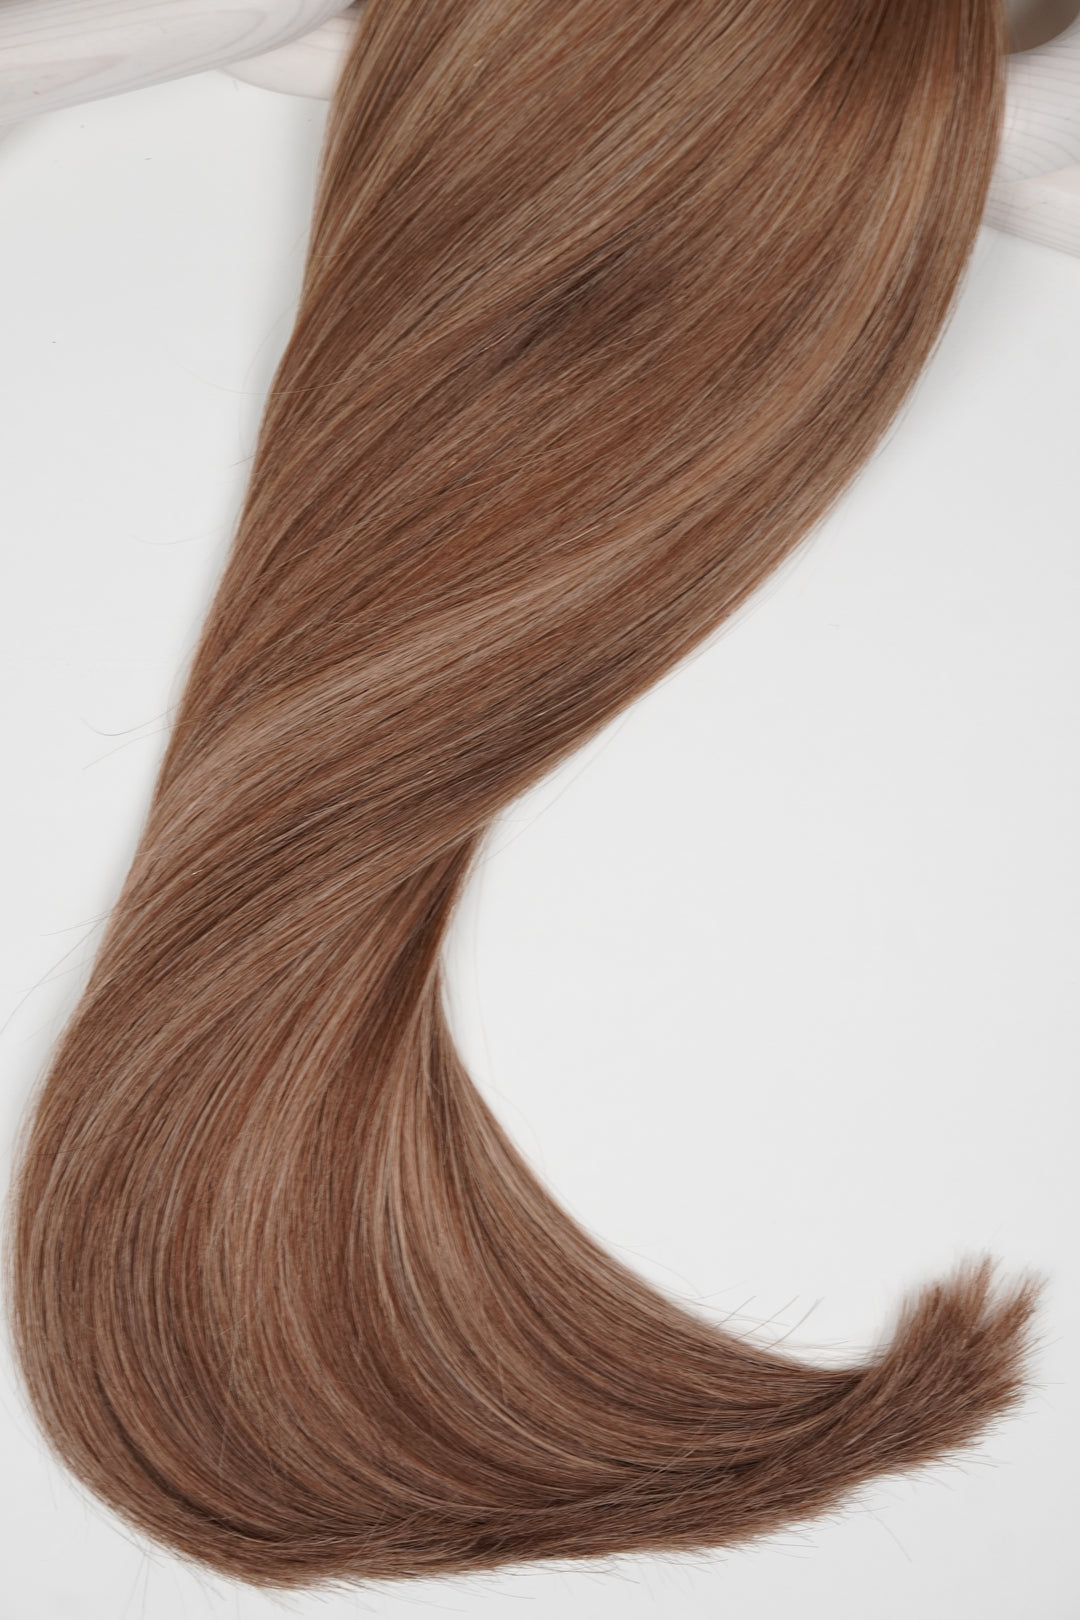
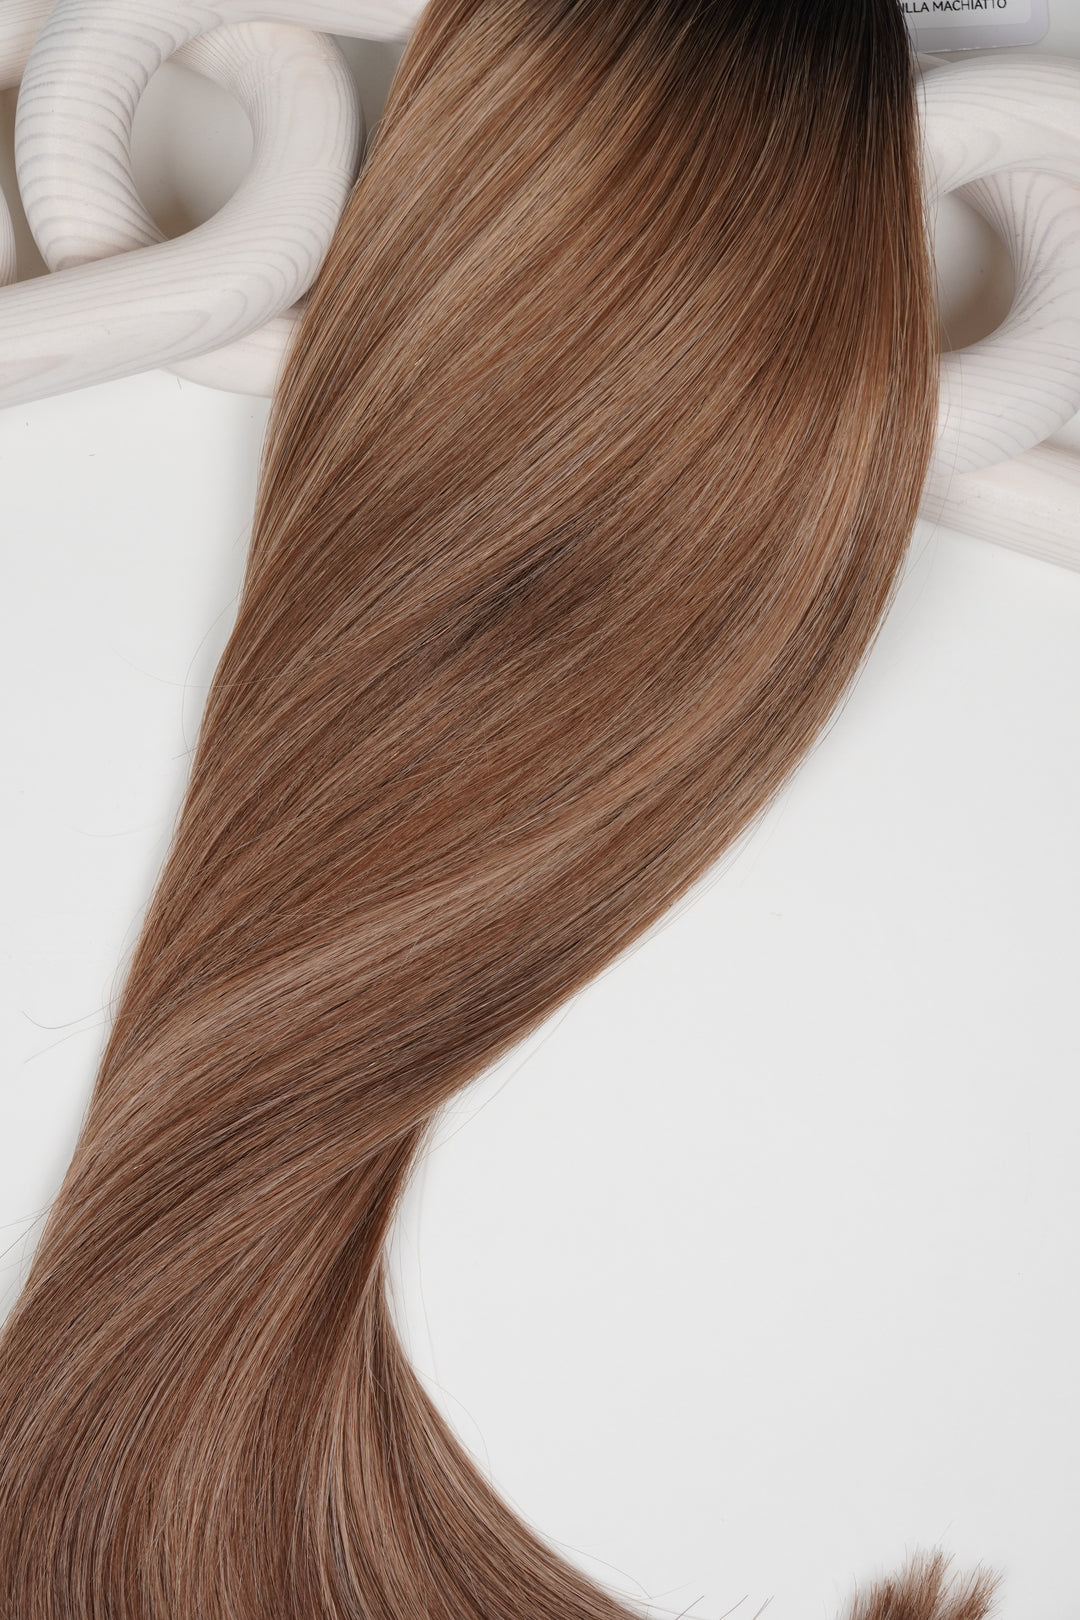
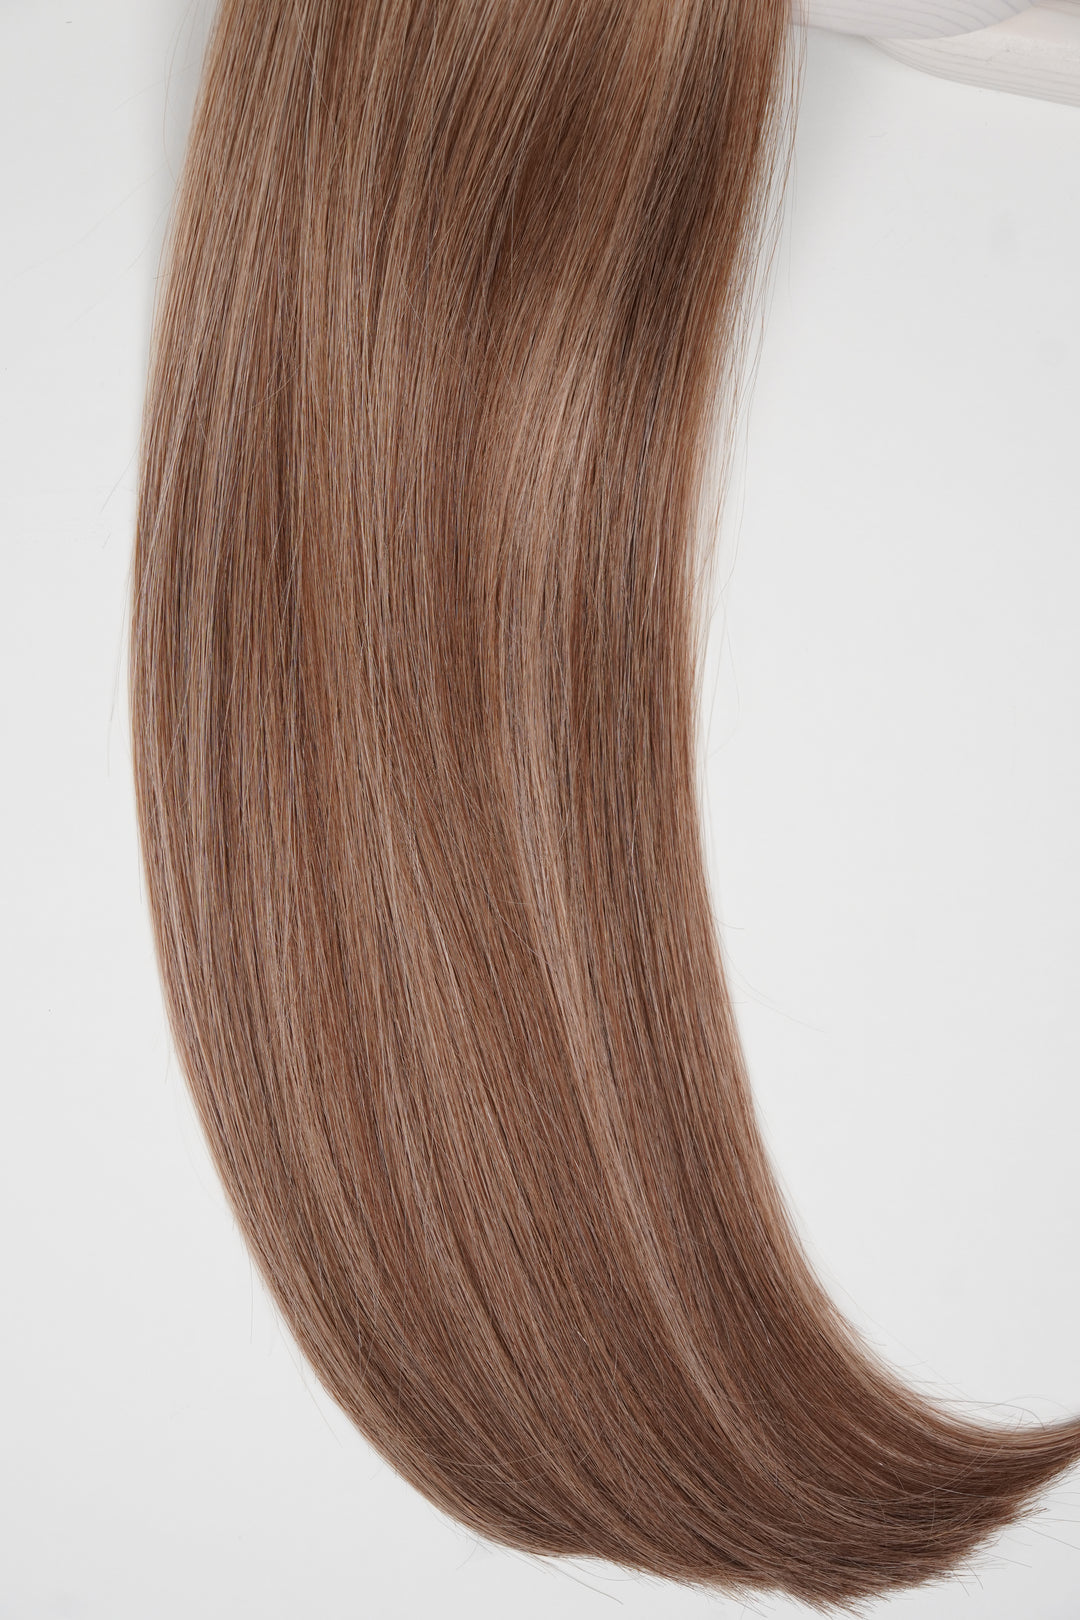
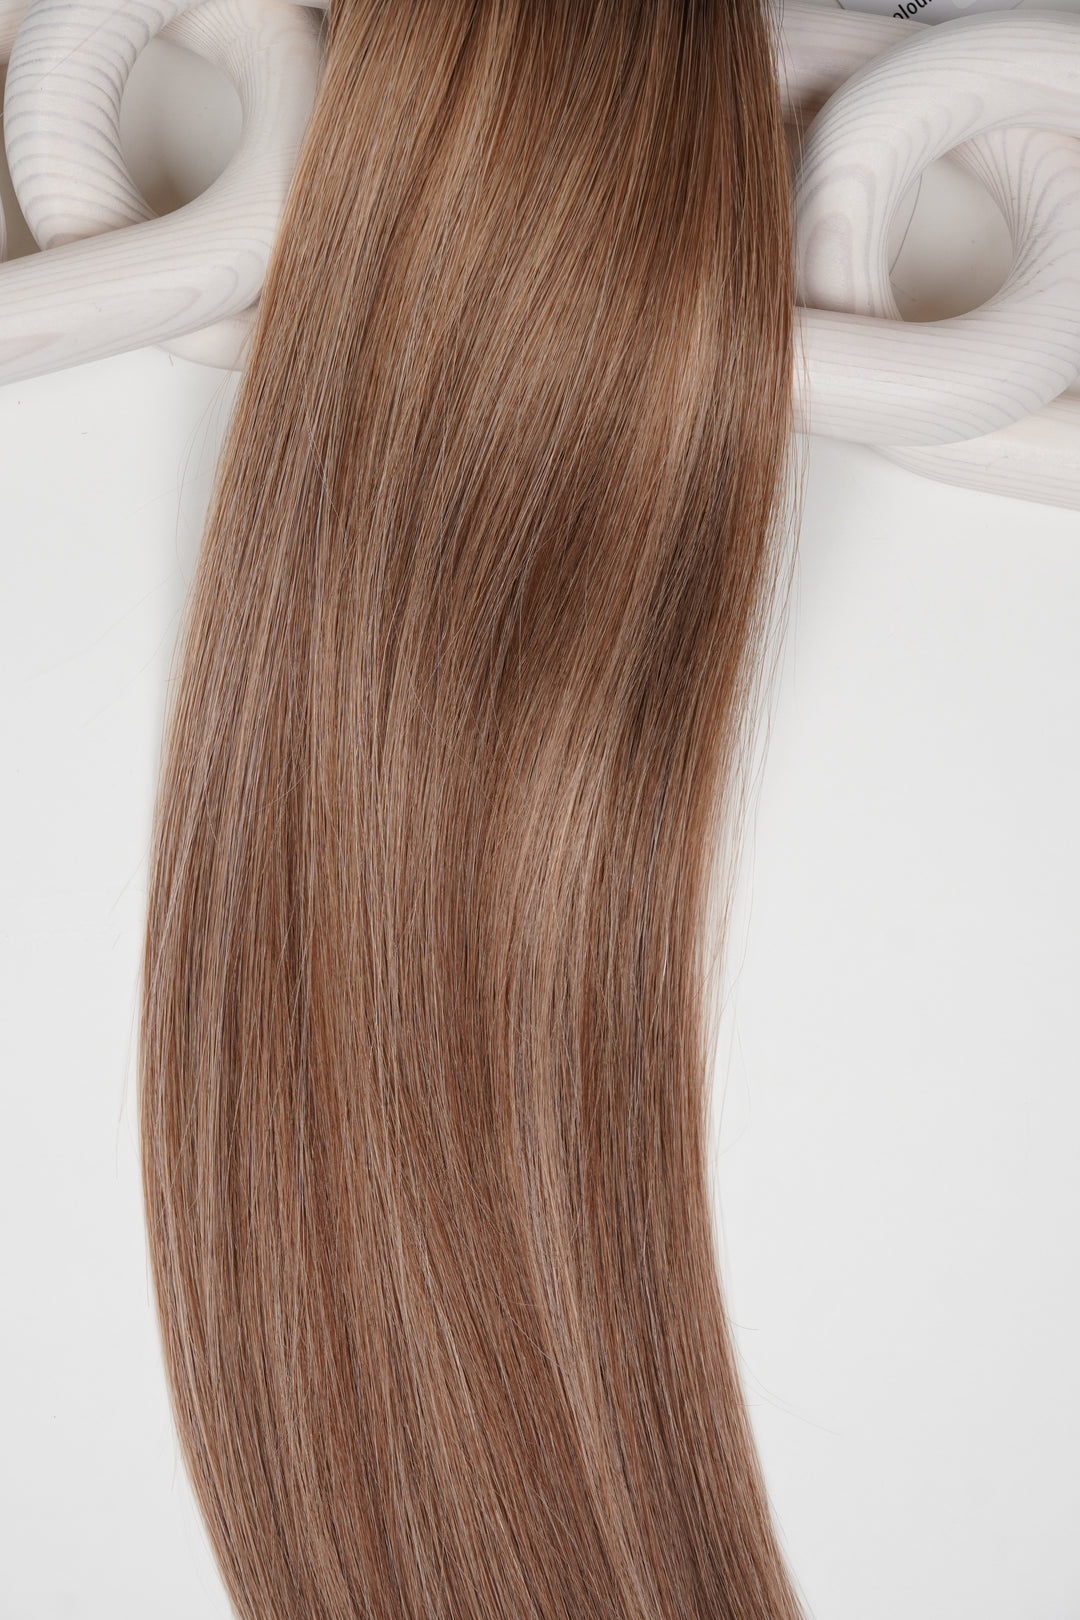
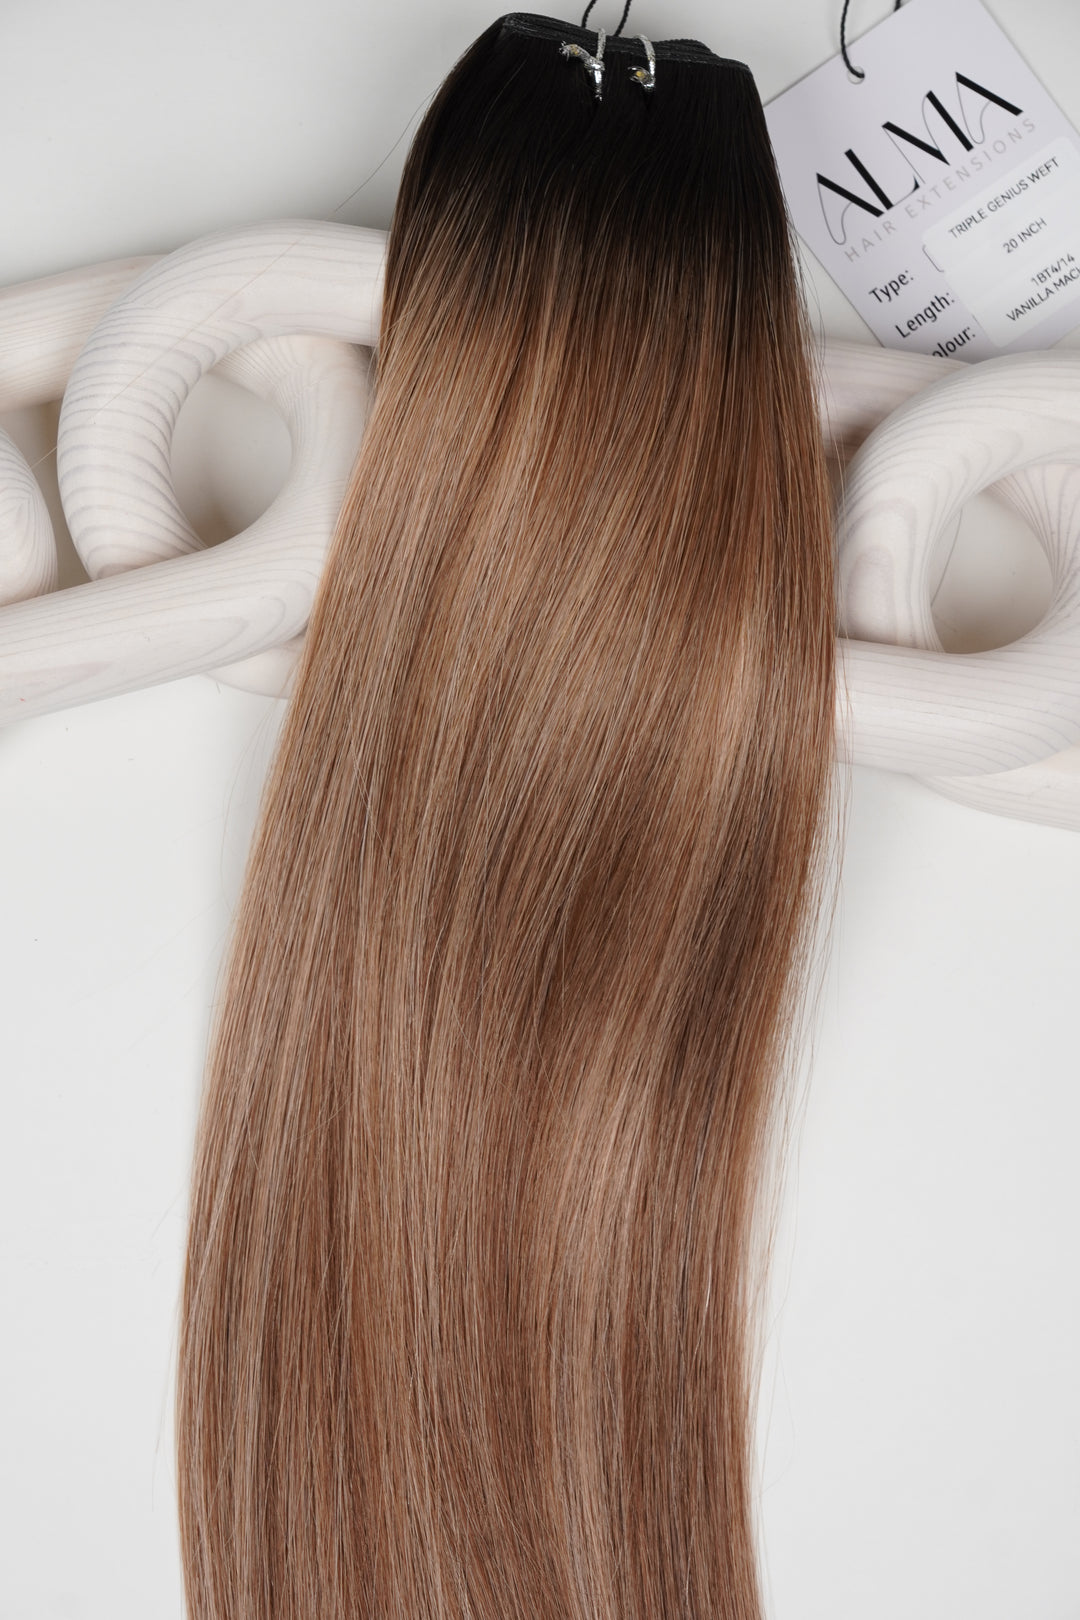
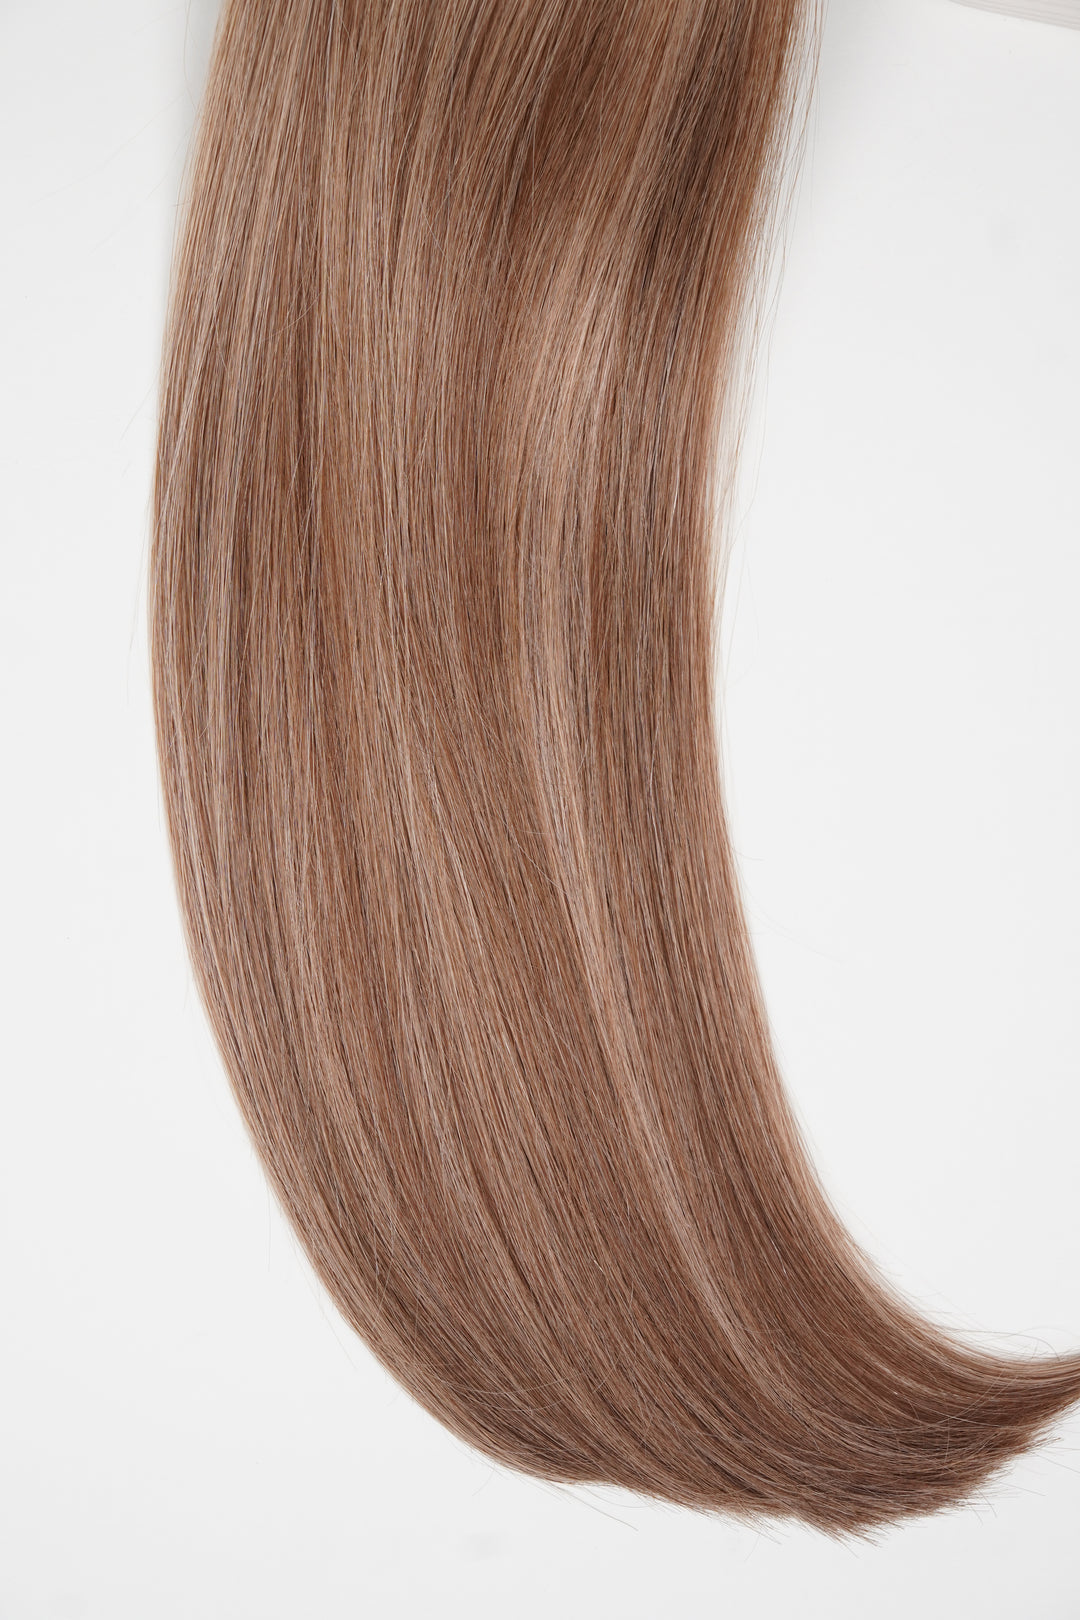
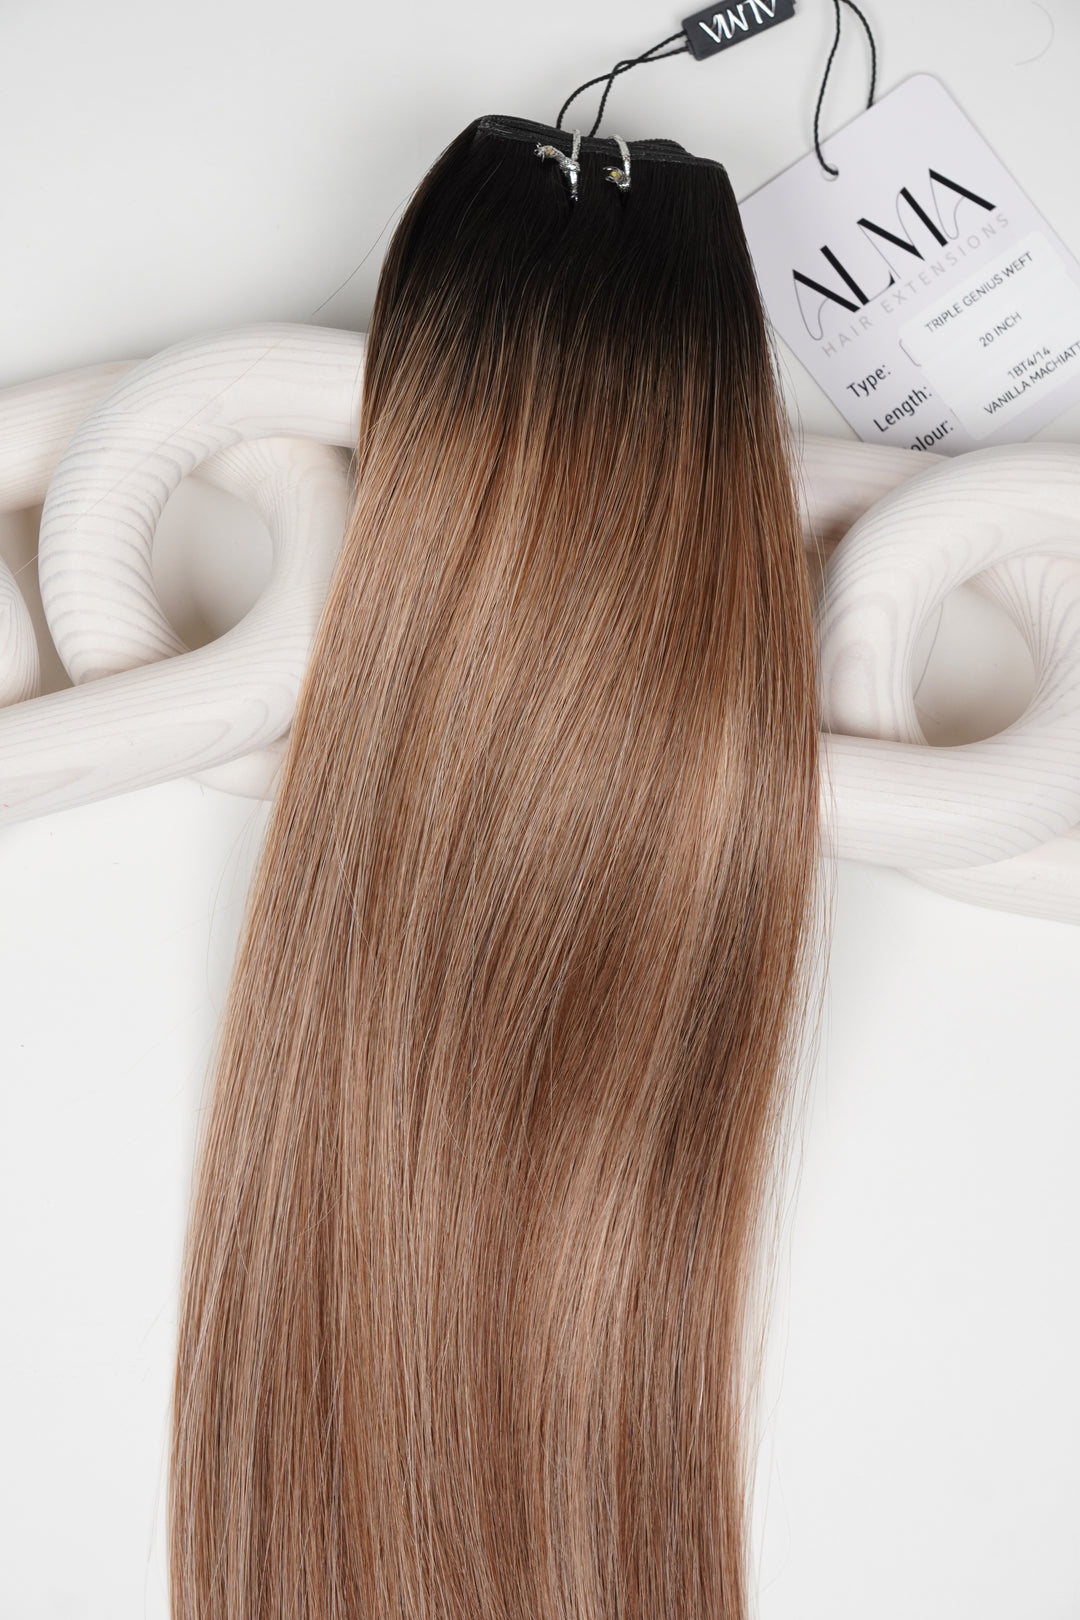
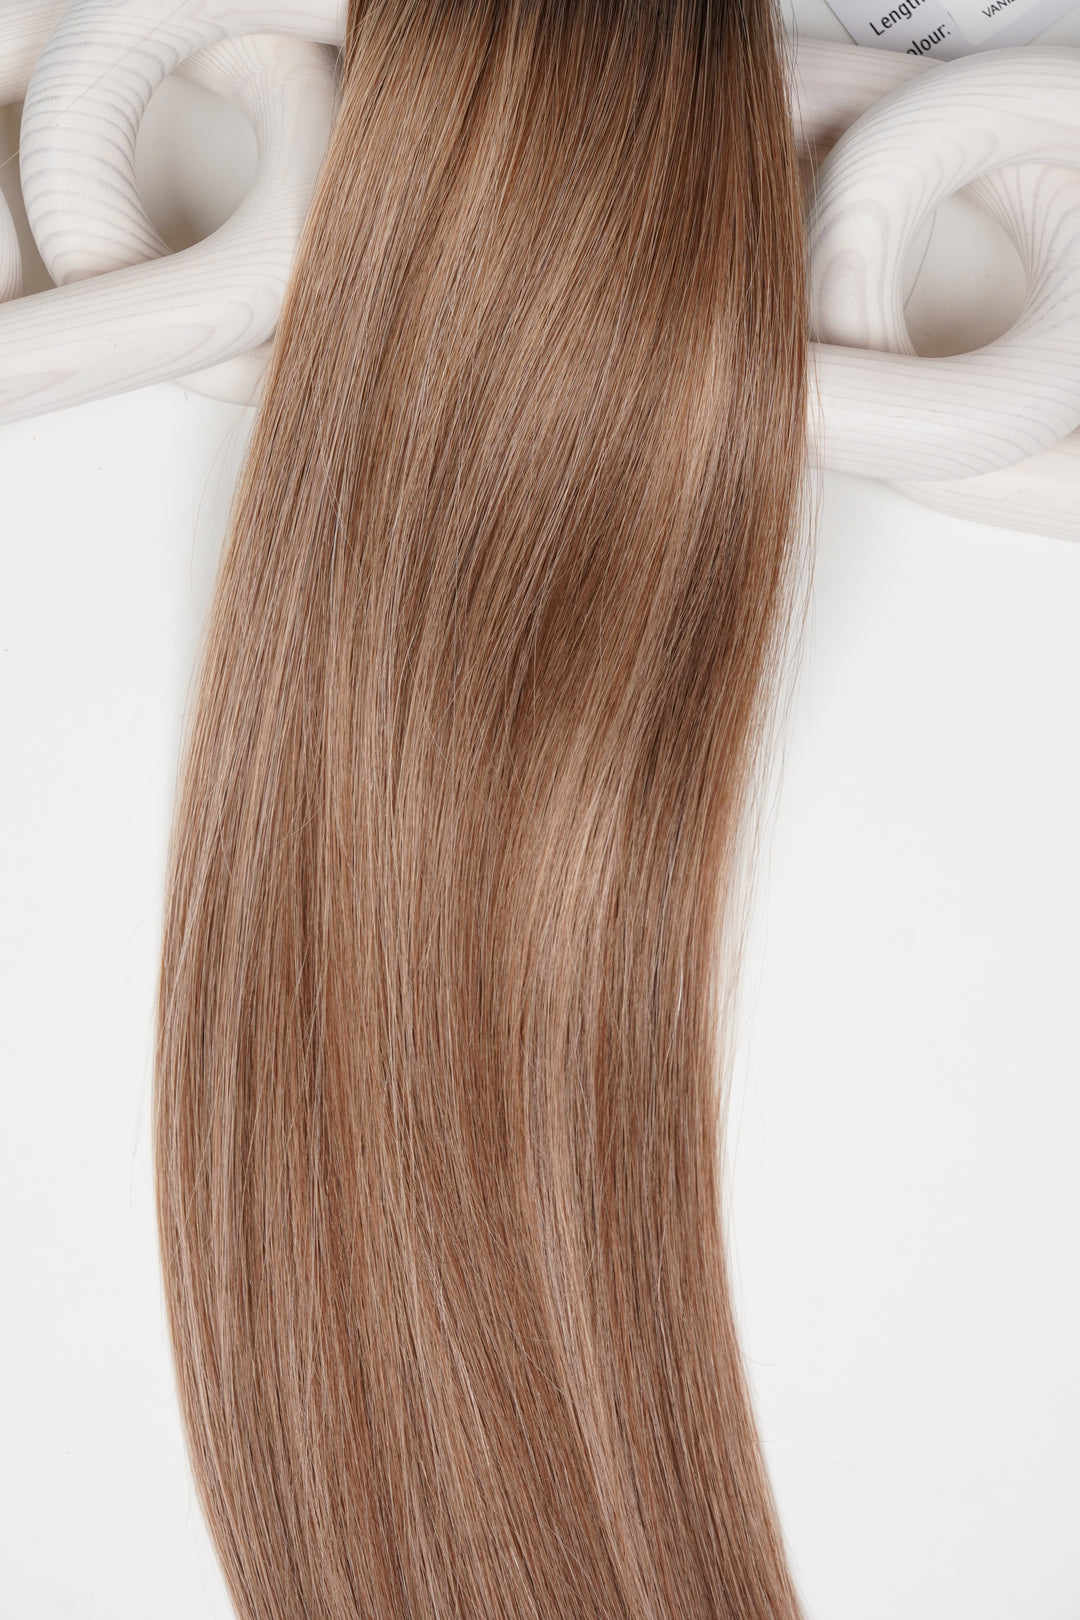
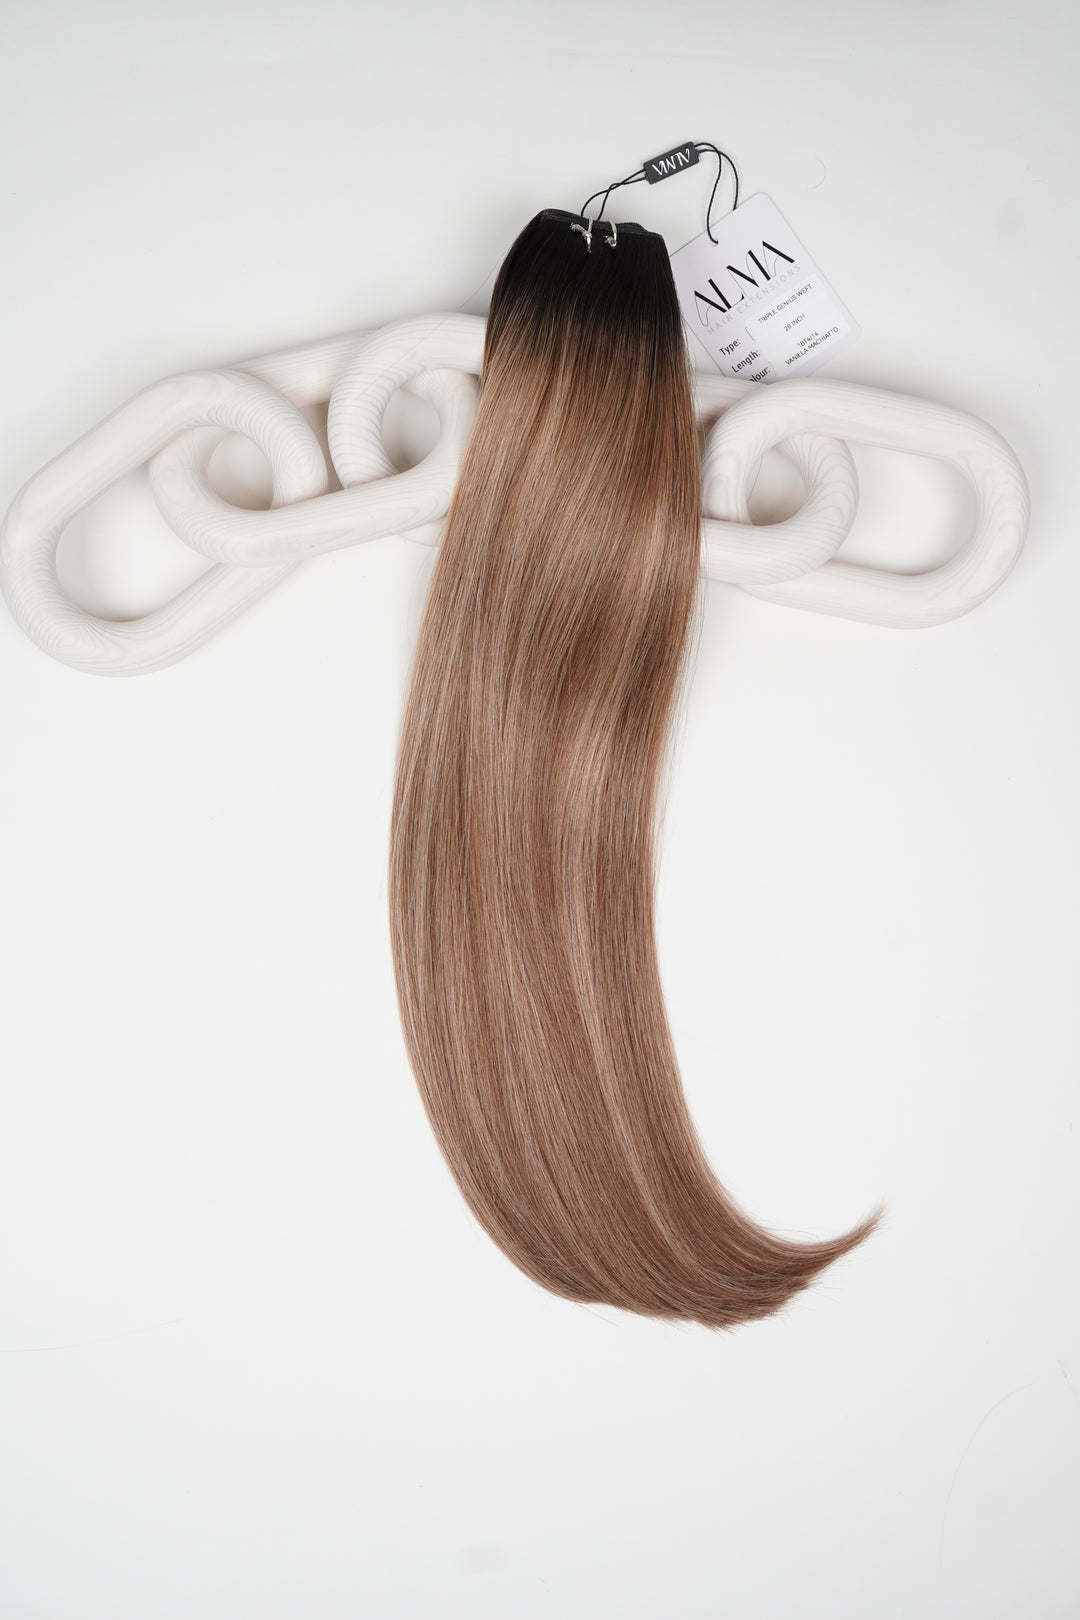
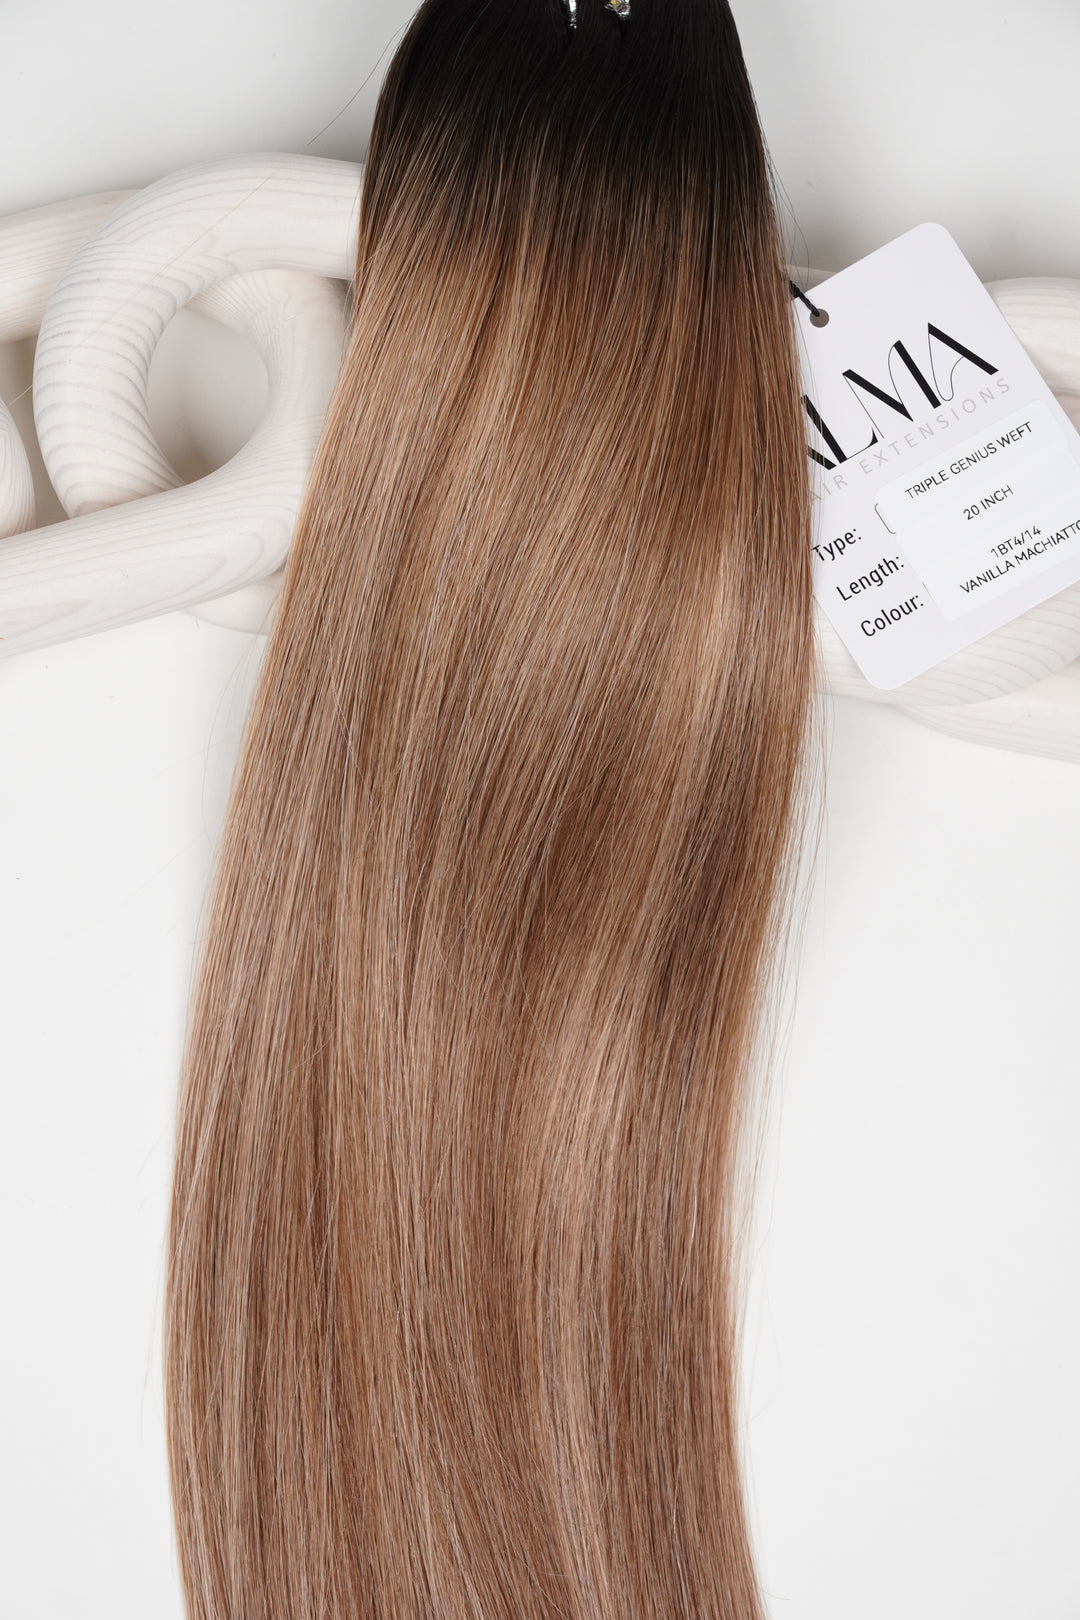
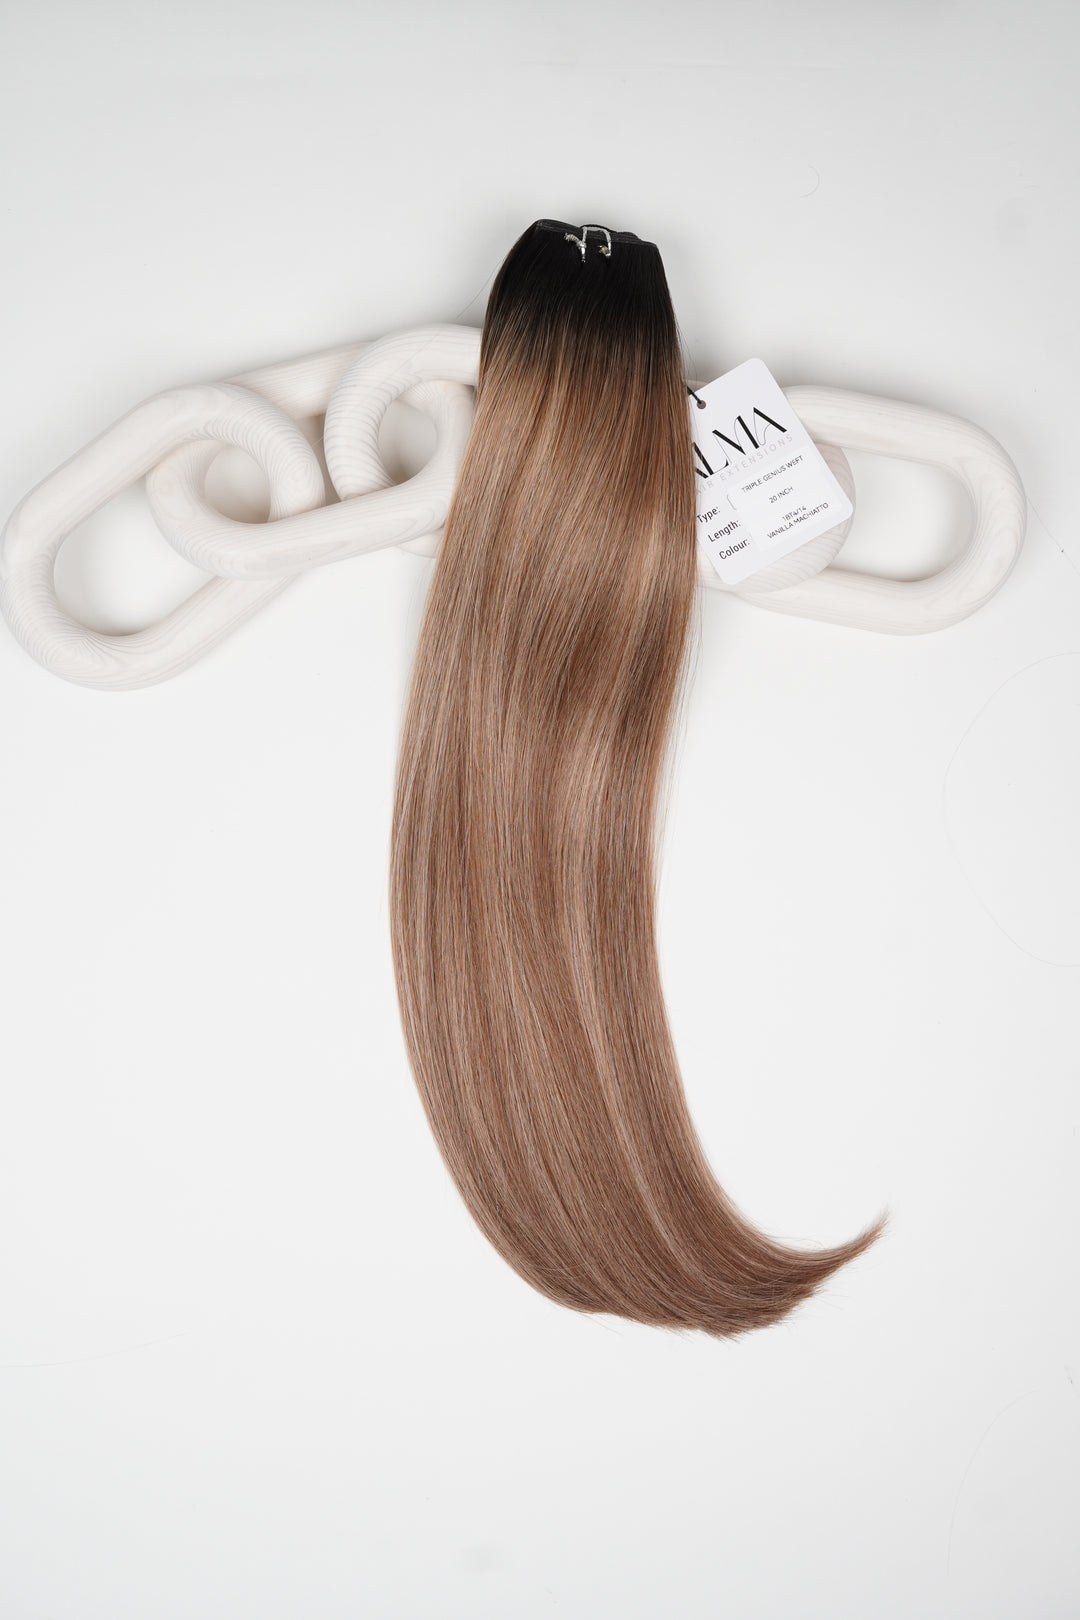
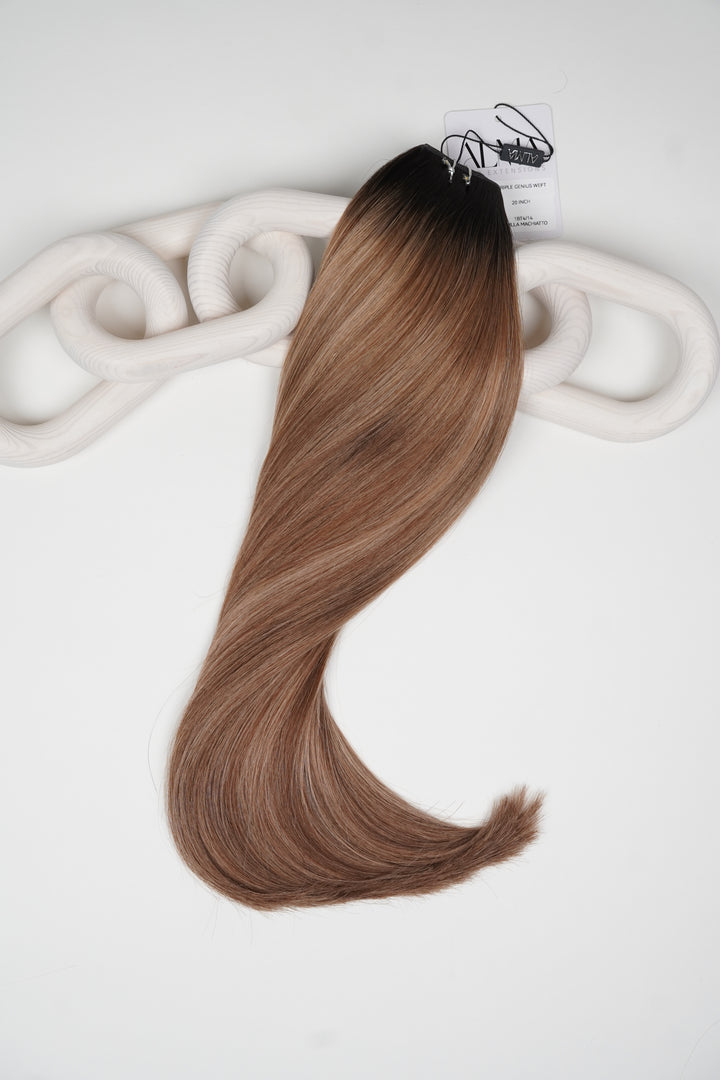
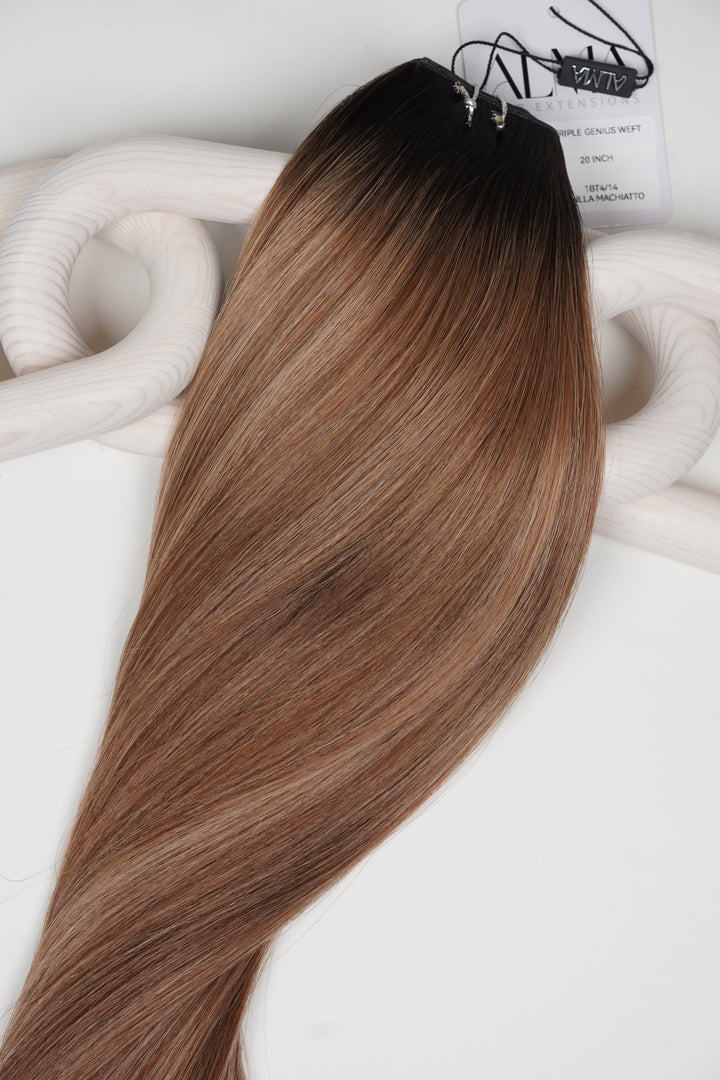
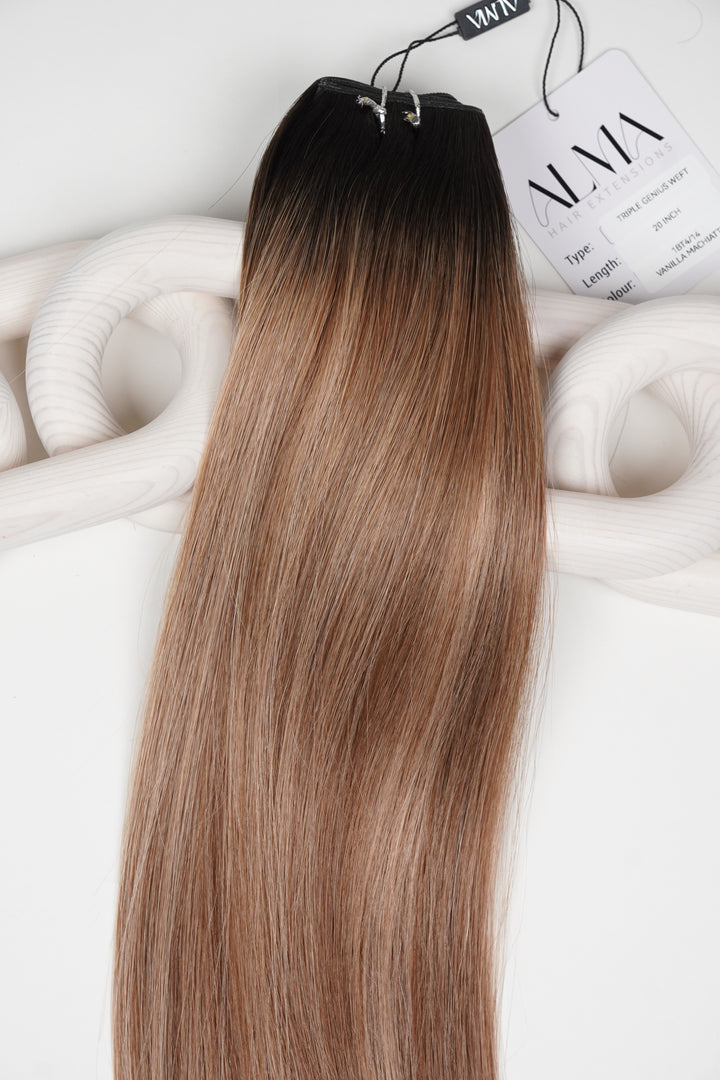
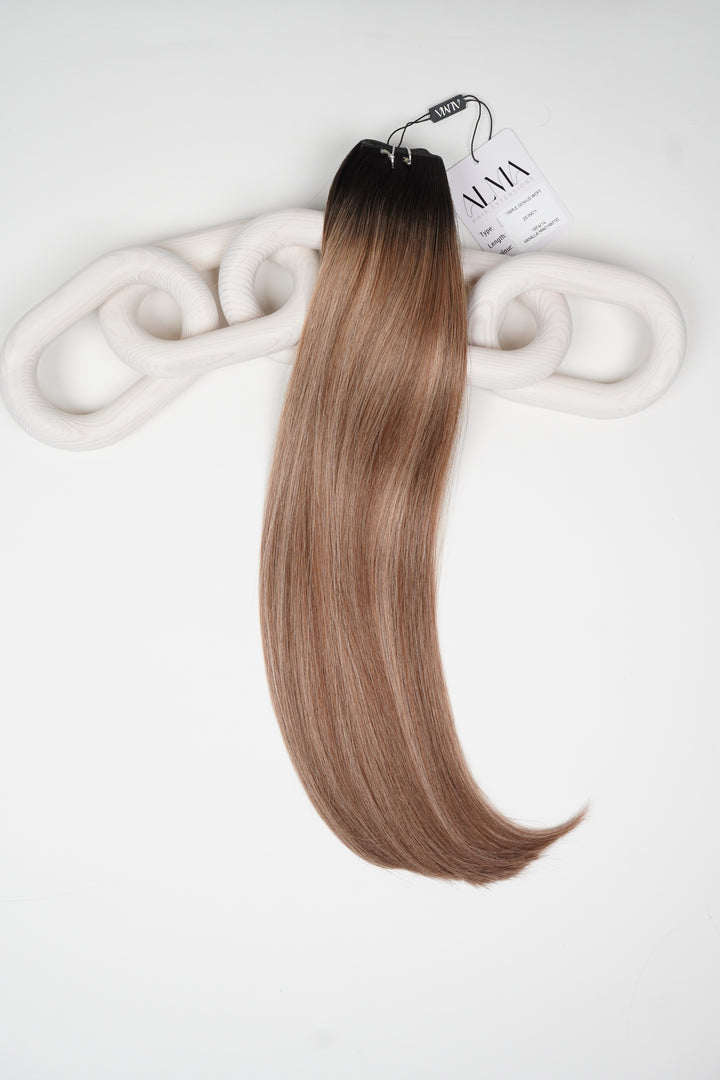
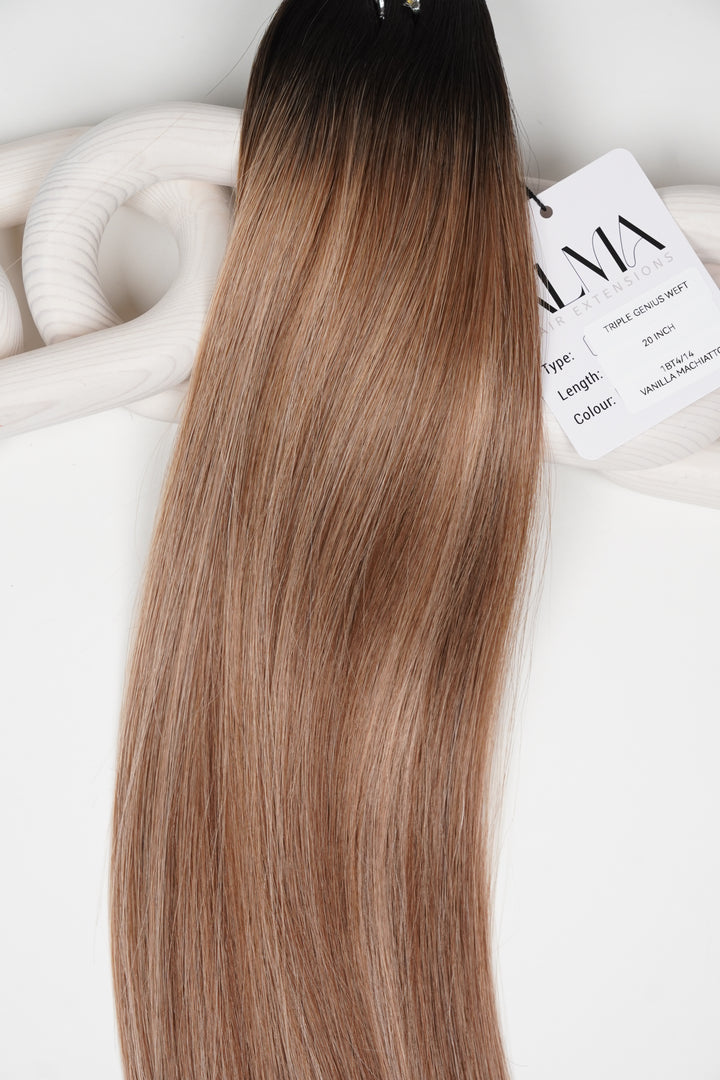
The Art of Installing Beaded Weft for a Seamless Look
Installing beaded weft hair extensions can transform your look effortlessly. Whether you’re seeking length, volume, or a combination of both, this technique promises a stunning, natural appearance. In this guide, we’ll explore the essential steps, tips, and tricks to achieve a flawless installation that seamlessly blends with your natural hair. Let’s dive into the art of beaded weft installation!
Understanding Beaded Wefts
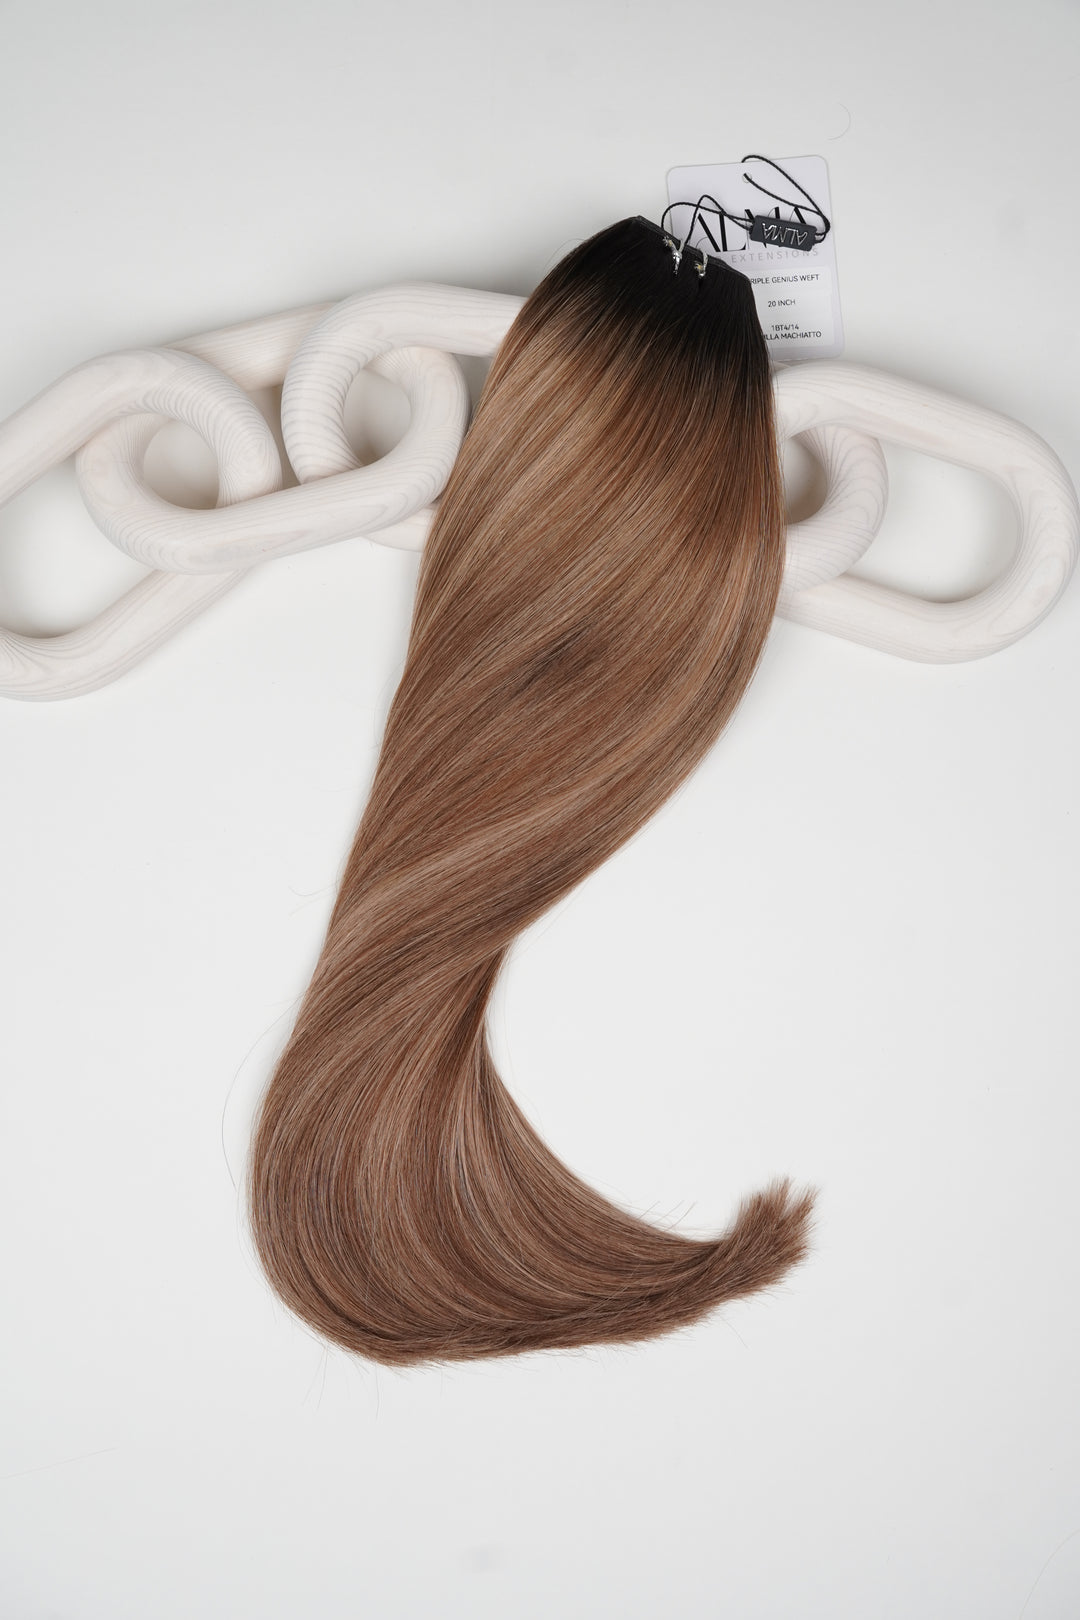
Before diving into the installation, it’s important to understand what beaded wefts are. These extensions are attached to your natural hair using small beads, providing versatility and a realistic finish. Let’s explore the different types of beaded wefts available and what makes them unique.
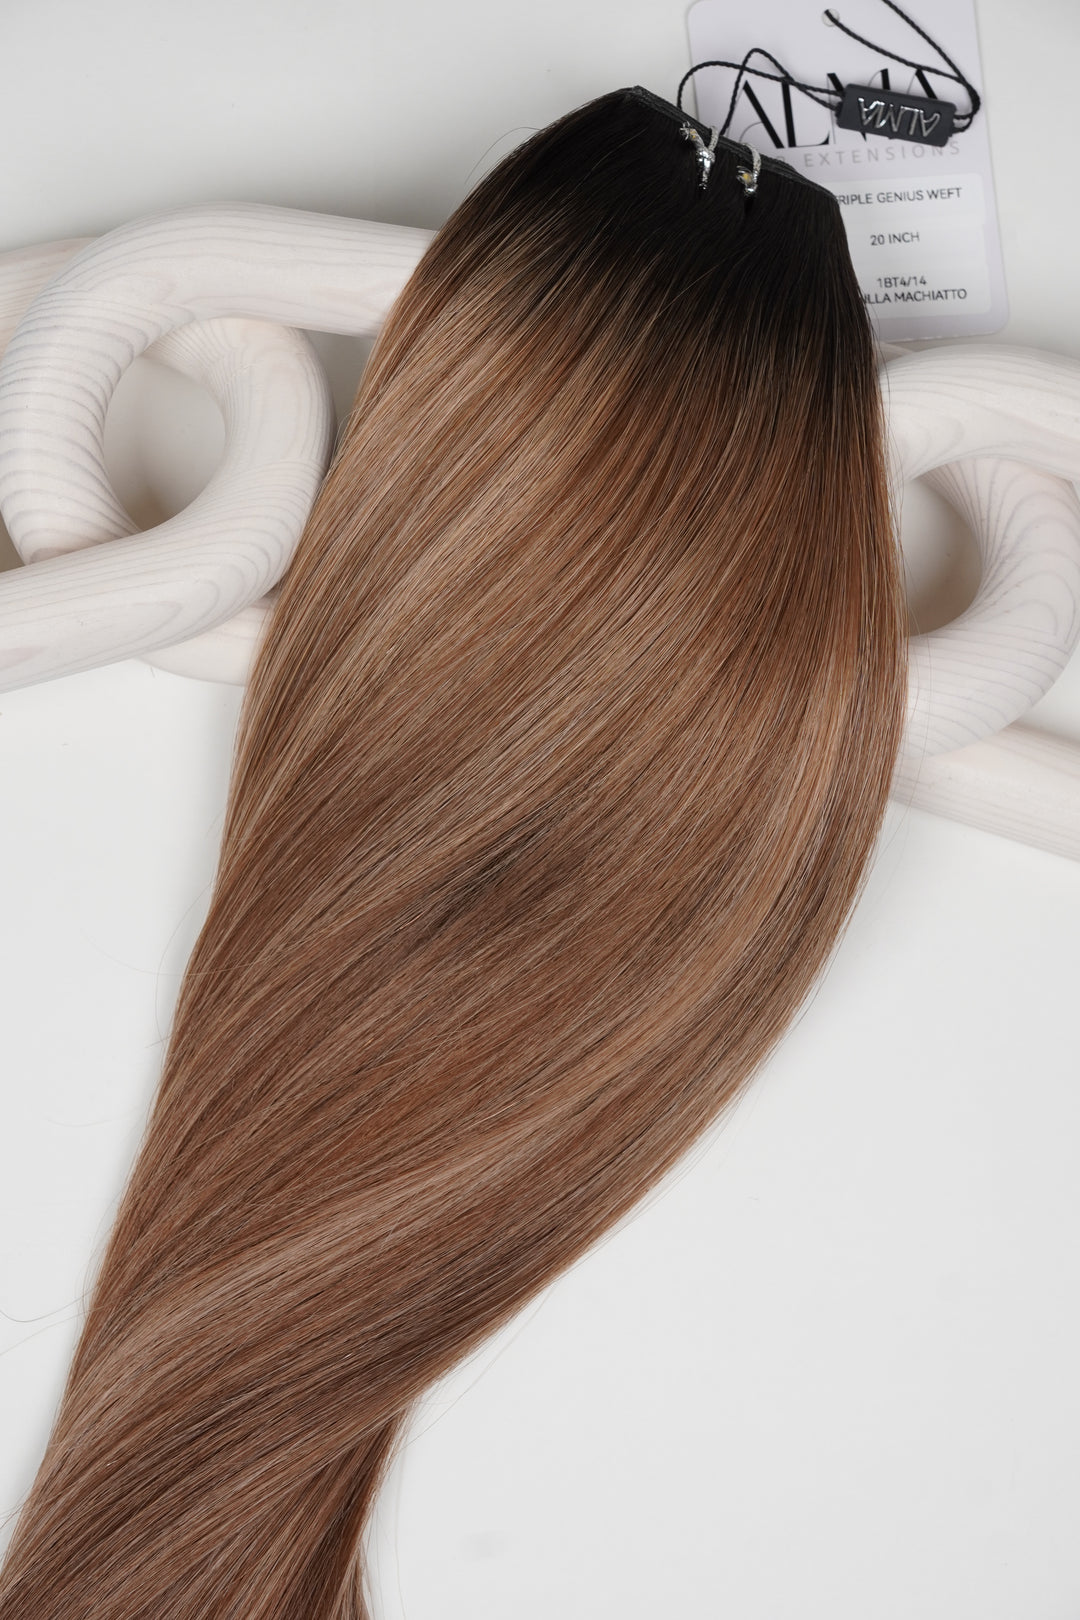
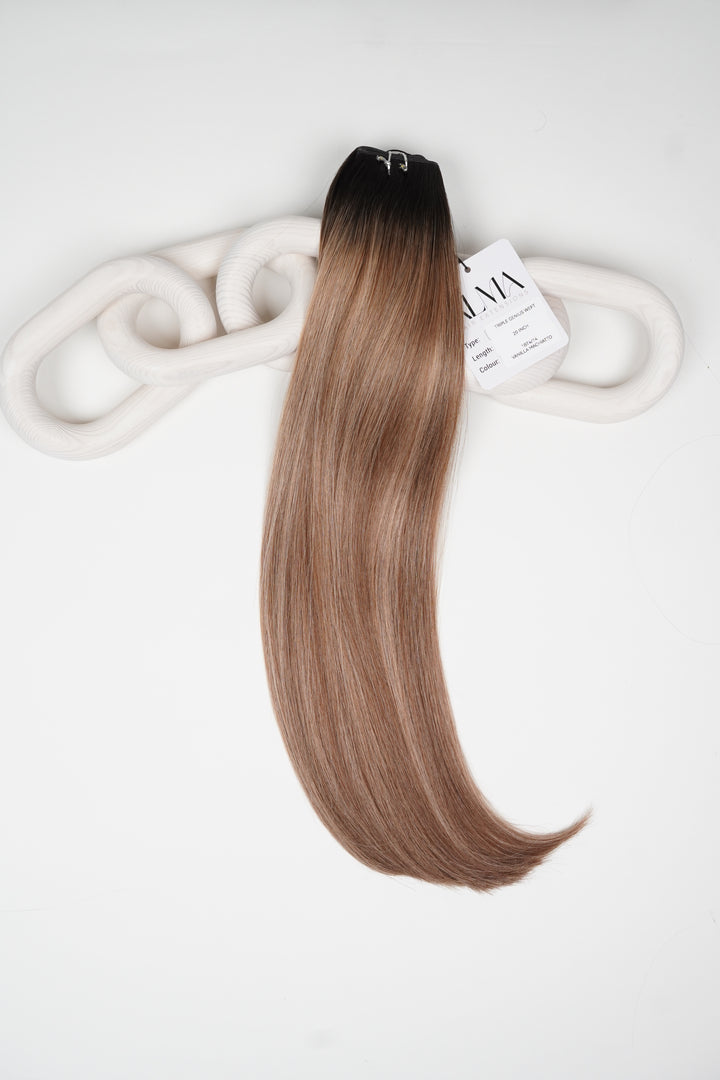
Beaded wefts come in various forms, catering to different hair types and preferences. Some are pre-sewn, while others allow for greater customization. They can be made from synthetic or human hair, each offering distinct advantages depending on your needs. Understanding the options available ensures you choose the right fit for your hairstyle.
Moreover, knowing the benefits of beaded wefts can further clarify your choice. They provide a lightweight, low-tension solution that doesn’t put excessive strain on your natural hair, making them a popular alternative to traditional sew-ins or clip-ins. With the right technique, beaded wefts can create a seamless, effortless look.
Gathering Your Supplies
To achieve the best results, you’ll need the right tools. From the beaded wefts themselves to the necessary installation tools, this section will guide you on what to prepare before you start. We’ll list everything you need, ensuring you’re fully equipped for the process.
Start with gathering your beaded wefts, of course! Make sure to select colors that match your natural hair closely. Additionally, you’ll need a good pair of hair scissors, a loop tool or a threading tool for installation, and a beading plier to secure the beads. A sectioning clip will also be helpful in managing your hair as you work.
Lastly, don’t forget about the importance of a mirror for visibility! Installing beaded wefts can be intricate, and a good view will help you achieve precision. Tools like a rat-tail comb can aid in parting the sections accurately for even spacing, ensuring a beautifully blended finish.
Preparing Your Hair
Preparation is crucial for a seamless installation. Here’s how to properly wash, dry, and section your hair for the most effective results. We’ll also discuss how to assess your natural hair to ensure the wefts will blend perfectly.
Begin by washing your hair with a gentle sulfate-free shampoo to remove any product buildup. Ensure that it’s fully dried before installation, as damp hair can make the process more challenging. Once dried, detangle any knots carefully, as this will prevent any discomfort during installation.
After drying, proceed to section your hair into manageable parts. Use hair clips to secure sections, particularly focusing on the bottom layers where the wefts will begin. It’s important to create uniform sections, ensuring that the beaded wefts are distributed evenly throughout your hair for a natural look.
The Installation Process
Now the fun begins! In this section, we’ll break down the step-by-step process of installing beaded wefts. From creating a foundation braid to threading the weft and securing it with beads, you’ll have all the instructions needed for a successful installation.
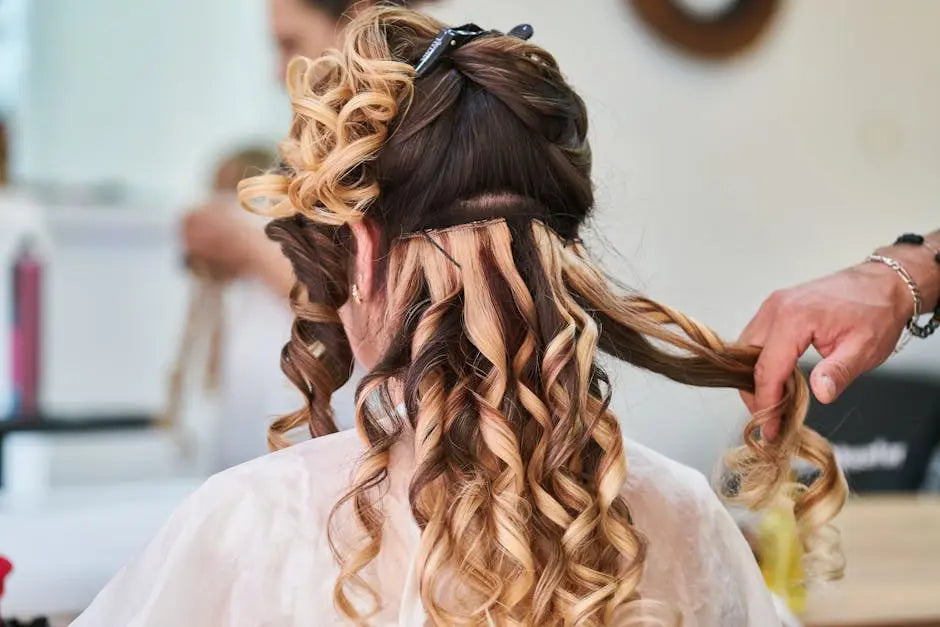
Start by creating a foundation braid at the nape of your neck. This braid supports the beaded wefts and keeps them securely in place. As you proceed, take your loop tool and carefully thread the weft onto your natural hair strands. Once you have it in place, slide a bead over the weft and your natural hair and secure it tightly using the pliers.
Repeat this process as you move up your head, ensuring that each weft is aligned correctly and secured firmly. Take your time; rushing can lead to uneven spacing. Once finished, gently brush through your hair to blend everything together, and admire your beautiful new look!
Aftercare Tips for Longevity
Once your beaded wefts are installed, proper aftercare is essential to maintain their beauty and longevity. Here, we’ll share tips on washing, styling, and maintaining your weft extensions, ensuring they look fabulous for weeks to come.
Start by washing your hair with care. Use a gentle, sulfate-free shampoo and avoid scrubbing directly at the beads, as that can loosen them. Instead, focus on gently massaging the scalp and let the suds flow through the lengths of your hair. Conditioner is your friend; just make sure to apply it to the mid-lengths and ends, avoiding the bonds.
When it comes to styling, consider using heat protectant sprays to shield your wefts from damage. Opt for lower heat settings on tools like curling irons and straighteners to help prolong the lifespan of the extensions. Regularly check the beaded connections and adjust any loose beads as necessary to keep the installation secure.
Common Mistakes to Avoid
Even seasoned stylists can encounter bumps along the way. This section will outline common mistakes to avoid during the installation process, helping to ensure your experience is smooth and your results are stunning.
One major mistake is rushing through the preparation phase. Skipping steps like detangling or uneven sectioning can lead to a messy installation. Take the time to properly prepare and understand each stage. Remember, the foundation is key to a successful outcome.
Another common pitfall is using the wrong type of beads. Ensure that the beads are compatible with your hair type and the thickness of your wefts. Incorrect sizes can result in discomfort or the wefts slipping out. Finally, don’t neglect the importance of aftercare; it is crucial for preserving your style and length.
Wrapping Up Your Beaded Weft Journey
With the right technique and a little practice, you can master the installation of beaded wefts for a stunning and seamless look. Remember, patience is key as you refine your skills. Whether you’re doing it yourself or seeking the help of a professional, you’re one step closer to fabulous, voluminous hair. Happy styling!


